
Most modern PC cases come with several ways to configure and place fans. Having customization options is the name of the game when it comes to building your own PC. With so many options, however, you may be wondering how to best configure your fan setup. As we noted in a previous article, good airflow is an essential part of choosing a case for your build. In this article, we are going to discuss how to maximize the cooling performance of your PC case. By the end, you will be familiar with the challenges of thermal management, the importance of air-efficient airflow, and how to place, optimize, and troubleshoot fan configuration.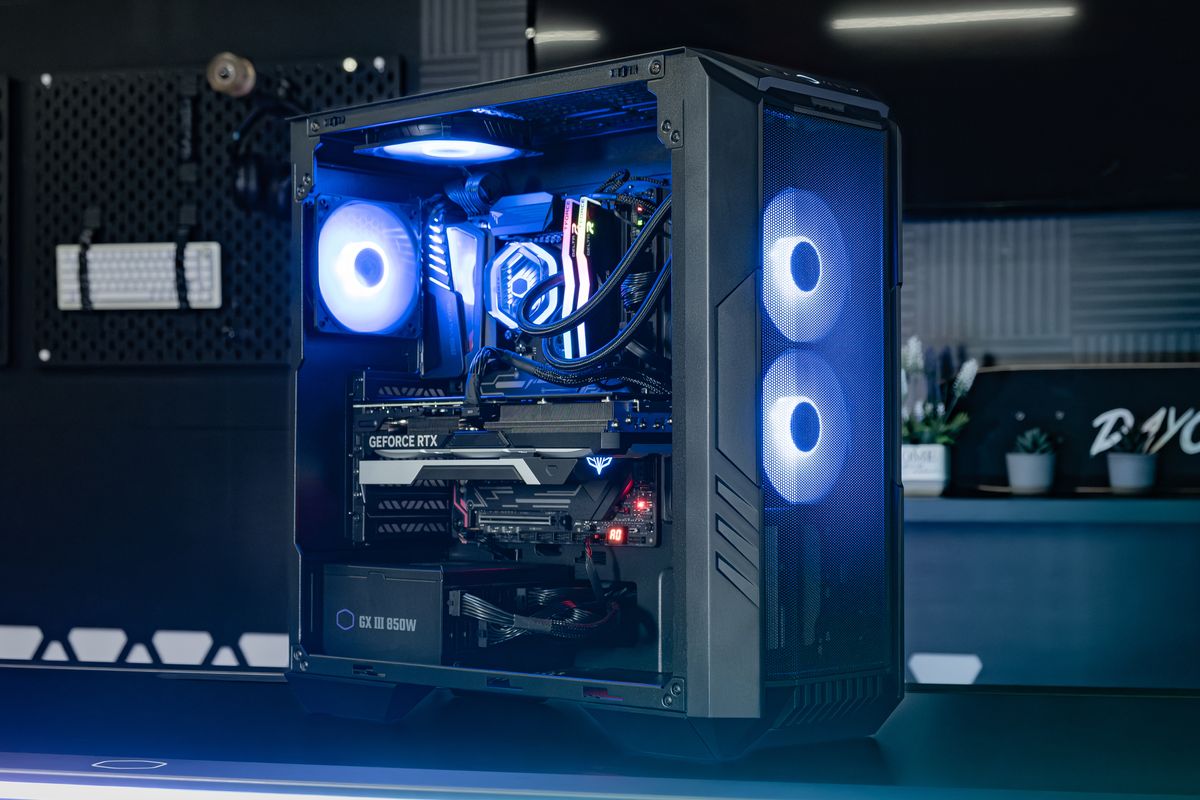
Most modern PC cases come with several ways to configure and place fans. Having customization options is the name of the game when it comes to building your own PC. With so many options, however, you may be wondering how to best configure your fan setup. As we noted in a previous article, good airflow is an essential part of choosing a case for your build. In this article, we are going to discuss how to maximize the cooling performance of your PC case. By the end, you will be familiar with the challenges of thermal management, the importance of air-efficient airflow, and how to place, optimize, and troubleshoot fan configuration.
The Heat Problem Explained
Components overheat when your PC build lacks proper cooling and airflow. Any component that gets too hot could potentially be damaged, but most modern hardware has built-in mechanisms to prevent this from happening. GPUs and CPUs, for example, can slow down performance when temperatures get too high to prevent PC from shutting down; if your GPU or CPU gets close to 90-100 degrees Celsius (194-212 Fahrenheit) it will automatically shut down. You can always find the exact maximum GPU and CPU (Tjmax or Tjunction) temperatures on the manufacturer’s website.

But the GPU and CPU aren’t the only parts in a PC that need to stay cool. Essentially any electrically powered component generates heat while operating. That’s why, for example, even motherboards, SSDs, and RAM all usually come with heatsinks. If hot air is trapped in your case, the PC’s internal ambient temperature will rise, and so will the temperatures of each component.
So how do you remove trapped hot air?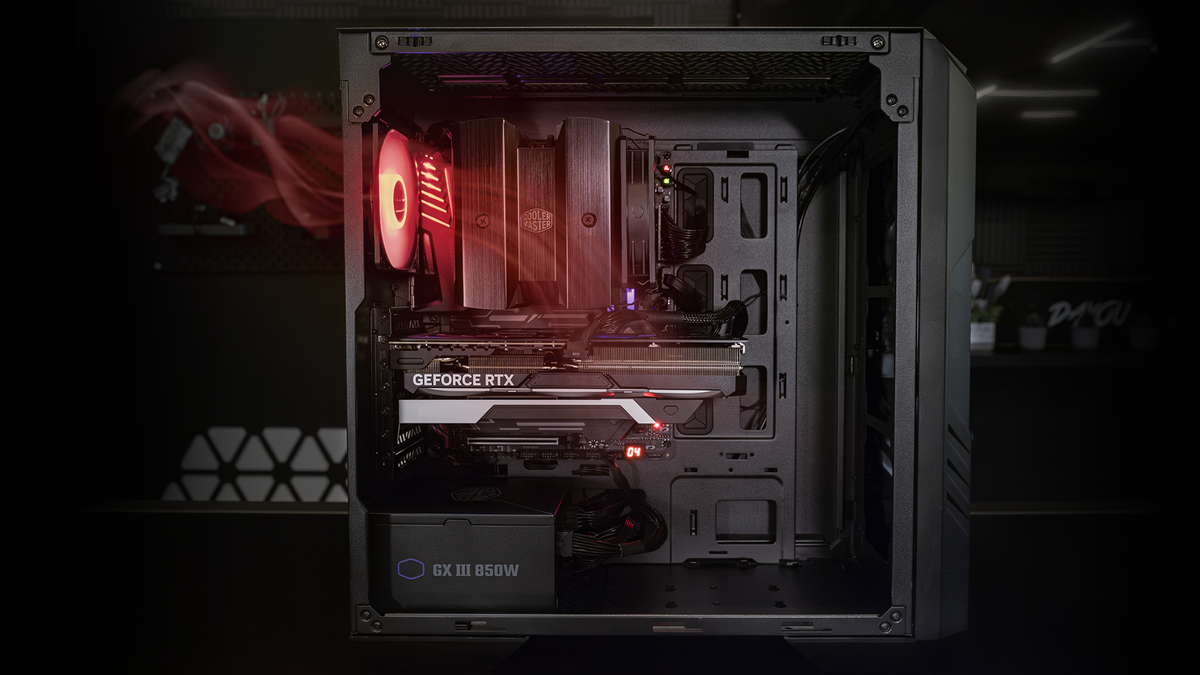
Airflow saves the day
In a properly ventilated case, optimized fan placement usually includes intake fans in the front to bring cool air in. The exhaust fans are usually installed on the back as well as possibly the top to push hot air out. This creates an airflow that replaces the hot air from the PC components with cool air from outside the case.
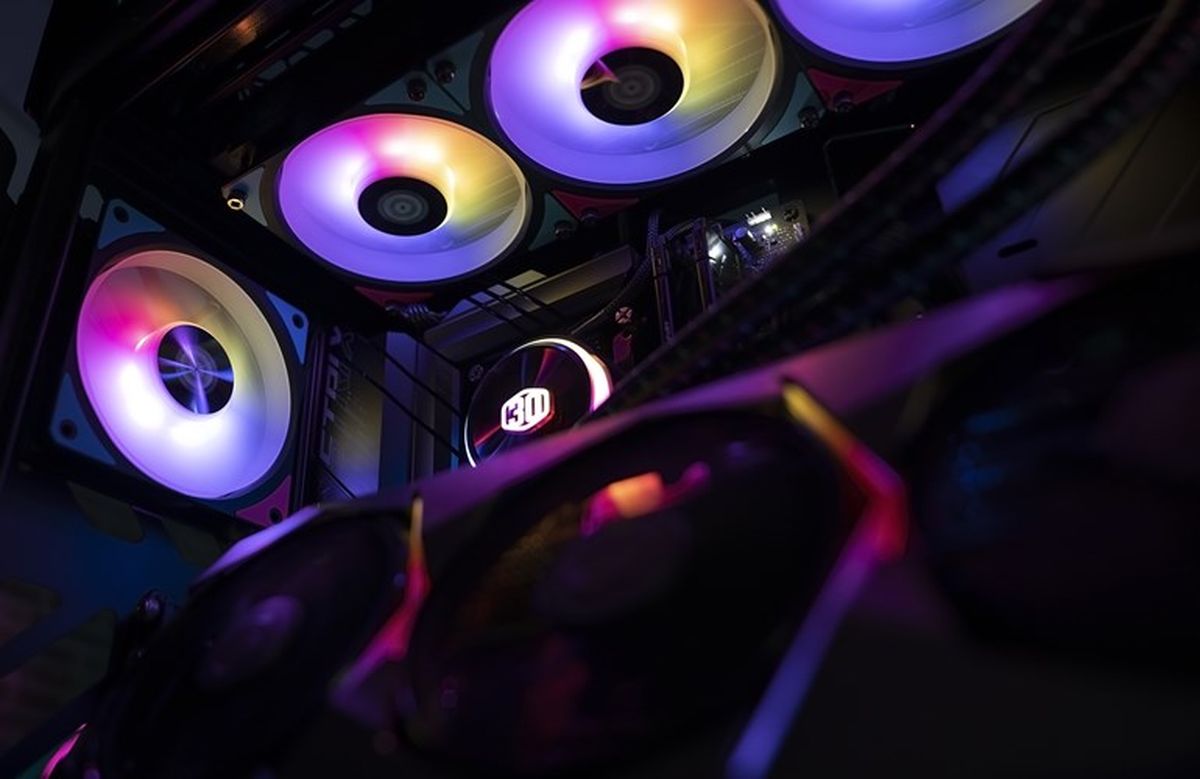
For high-performance fans that get the job done without any fuss, we recommend our Mobius 120P ARGB fans and SickleFlow 120 ARGB fans. We especially want to highlight the Mobius, which emphasizes low noise, top-tier performance, and reliability with a 5-year warranty. You can learn more about the technologies behind Mobius fans in this article.
Ultimately, the number of fans you need to achieve optimal airflow may vary from system to system depending on your components, but you should generally have one of the following setups:
- 2 intake fans, 1 exhaust fan: This is the most minimal recommended set up. Airflow is good, but not necessarily great, with just three fans.
- 3 intake fans, 2 exhaust fans: This set up is similar but obviously more powerful than the above. If there is any reason your build might become hotter than the usual machine, such as in a case with a lot of closed panels and lacking significant ventilation, then you should consider this set up.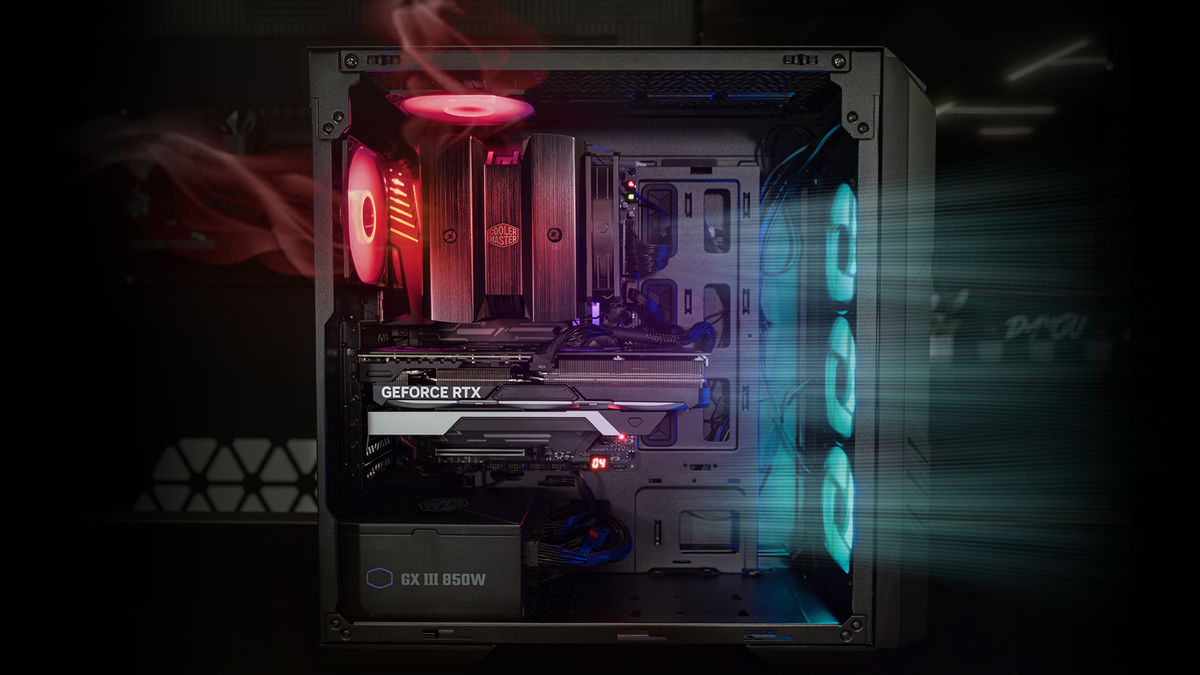
- AIO intake, 2 exhaust fans: The ultimate cooling set up. All-in-one (AIO) liquid cooling is a powerful solution that can bring cool air in while simultaneously keeping your CPU cool. Combined with 2 exhaust fans, this set up is a cooling powerhouse that maintains optimal airflow while also lowering overall noise levels by reducing the number of fans. For this route, we recommend Cooler Master’s MasterLiquid 360 Atmos or MasterLiquid 240 Atmos AIO coolers. With features such as an optimized dual chamber design and our most powerful Sickleflow Edge 120 fans, the Atmos is a premium AIO solution.
We just looked at several instances of horizontal airflow but there is also vertical airflow, wherein cool air comes in at the bottom of the case and is pushed out at the top. Besides the directionality, the setup is the same, with at least two intake fans and one exhaust fan. You can try a vertical layout to see how it works with your machine but if you are still having airflow problems, there are still some additional things you can try.
Troubleshooting
1. The first thing you can do is increase fan speeds in your motherboard’s BIOS: the motherboard’s firmware. This will give you direct control and may allow you to improve the overall temperature of your machine.
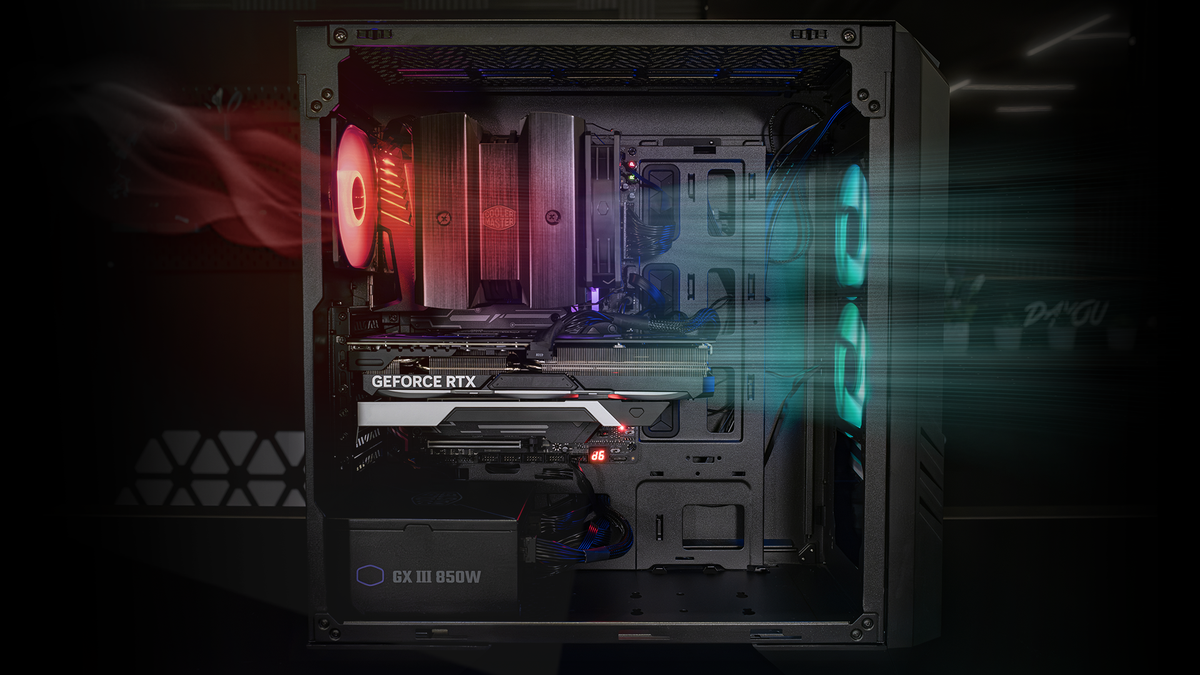
2. Ensure your case is properly ventilated. For some examples of cases with great airflow, we recommend our HAF 500, HAF 700, HAF 700 EVO, MasterBox TD500 Mesh V2, TD300 Mesh, MasterBox 520 Mesh, and Q300L V2. Each of these cases provides a different set of features, for a variety of builds.
3. If it is only CPU that is overheating, try re-applying thermal grease under your CPU cooler. This is because if the thermal paste it not enough, or too little, or too old, then the heat transfer will be significantly lower than it’s full potential. Cooler Master CryoFuze Violet is a good example of quality thermal paste that could resolve that issue.
4. However, there is also a chance that your CPU cooler is insufficient for your CPU model. In that case we recommend considering CPU cooler upgrade to a mainstream Cooler Master’s Hyper 212 Halo or to a high-performance cooler like our MA824 Stealth or a liquid cooler, like the MasterLiquid Atmos.
5. Dust is another potential reason for poor fan performance and overheating. Ensure that you check your components for dust and carefully clean it whenever necessary.
6. Also, remember to leave sufficient space around your PC so that the intake fans will draw in fresh air and won’t recirculate the recently exhausted hot air.
7. Another quick-fix solution is to resort to an external fan or Air Conditioning to increase the airflow and ambient temperature of your room. It is especially helpful during summers and in hot climates.
Airflow is important! The better the airflow, the cooler the PC, the stronger the performance. For a look at some of Cooler Master’s cooling technology and airflow-focused cases, please visit our website.