
So you’ve got all your parts selected to build your PC and you’ve made some good progress with the CPU installed on the motherboard. Your next step is probably going to be installing your cooler. If you’ve read our previous article on liquid coolers vs air coolers and decided that a liquid cooler is the right choice for you, then read on for detailed instructions on how to go about installing your liquid cooler.
If you still wish to look around for the best liquid cooling option for your build, check out Cooler Master’s MasterLiquid Atmos.
Step 1: Intel or AMD? Backplate or clips?
Determine whether you will need to use your motherboard’s clips for an AMD socket or a backplate to mount your cooler’s pump. Note that Intel builds don’t include clips and just require a backplate. In the case of the backplate, follow the instructions provided with your cooler to properly assemble and prepare the backplate and remove the clips if necessary. Be careful to align the backplate’s corner screw holes with the corresponding motherboard holes around the CPU socket. Once aligned, lay the motherboard down.

Step 2: Mounting bracket
If your pump’s mounting bracket is not already installed, go ahead and do that now. Most coolers come with multiple Intel and AMD brackets so triple check that you are using the correct one for your build.

Step 3: Thermal paste
Apply thermal paste directly onto the CPU. You do not need much, about the size of sunflower seed. Squeeze it into the middle of the CPU so that when you place the pump, the paste is evenly spread across the CPU’s surface by the pressure of the pump.

Step 4: Place the pump
Before actually placing the pump, you should test out all of its potential locations and make sure you can get the fans and tubes facing the correct way. You wouldn’t want to find out only after install that the tubing doesn’t go the way you want it to! Additionally, make sure you get the fan direction and placement correct before finalizing the location, and don’t forget to remove the protective film covering the contact surface. While you can place the radiator wherever you wish as long as fits, we recommend placing it at the top of your case for the best performance results. Please note that this step can be switched around with steps 6 and 7. You can install the motherboard first if you wish.
Once you know where you want it to go and have the tubing and fan directions sorted, if you have an AMD build, you can simply clip the pump into place and tighten the corresponding thumbscrews. If you’ve got a backplate, then you will most likely need to attach standoffs at this point. Then, you can place the pump on the CPU either with thumbscrews or risers and screws. When screwing the pump into place there are a few important things to remember: 1) If it’s on the front, make sure the thumbscrews fit and don’t interfere with the front panel placement. 2) Gradually tighten each screw little by little to ensure that pressure is evenly applied on the CPU and that the thermal paste is spread evenly. During the entire build process, it is good to keep the AIO radiator higher than the pump to prevent air bubble forming and to ensure you get silent performance later on.

Step 5: Connect the pump cables
Connect the 3-pin cable coming out of your pump to the CPU_OPT or AIO_PUMP motherboard header, along with any RGB, ARGB, or USB cables that may be included with the pump.

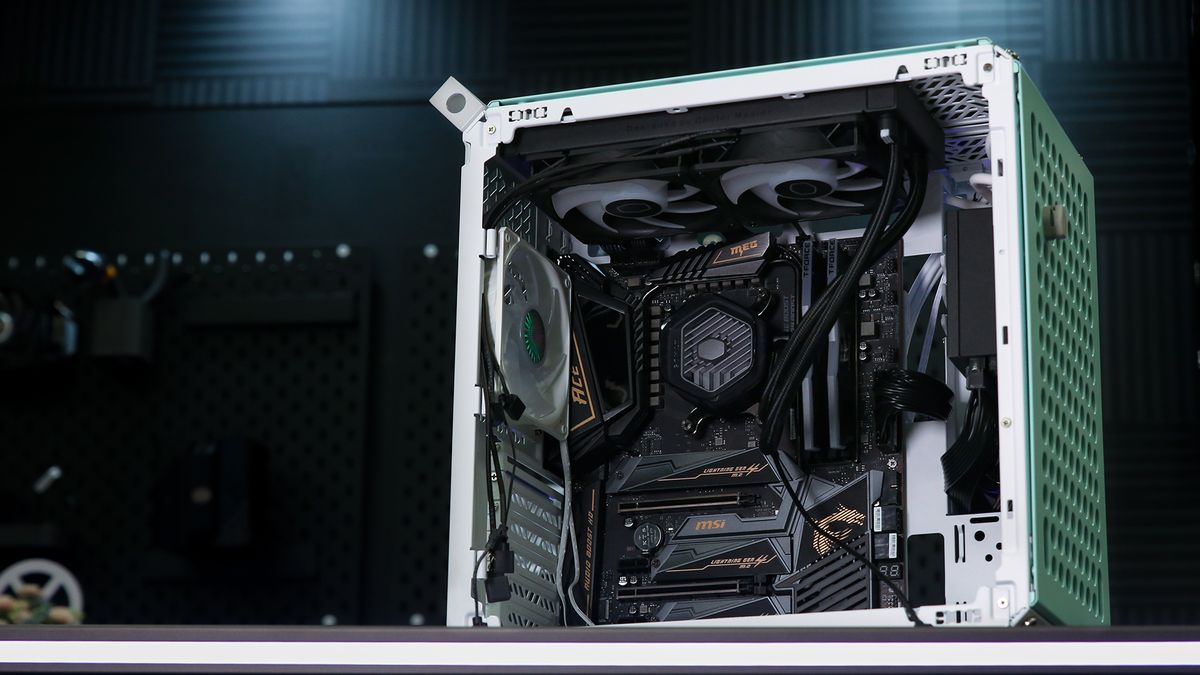
Step 6: Install the motherboard
Now that the pump is properly installed, it is best to go ahead and continue your build until you have the motherboard installed in your case. At that point, it is time to finish the liquid cooler install.
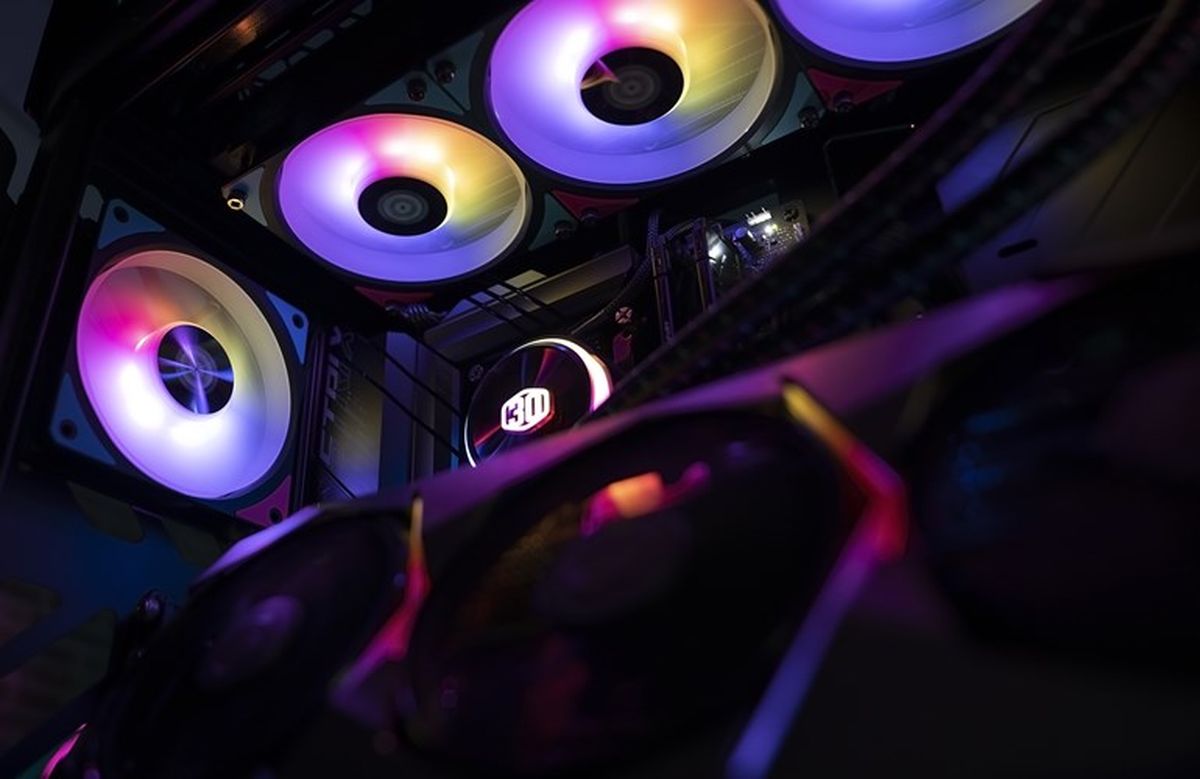
Step 7: Install the radiator and fans
Radiator location and fan directionality are very important. The fans can cool the radiator by either intaking cool air or exhausting hot air.
If you would like to place the radiator at the front of your case, then the fans should be placed between the radiator and the case with the fans situated to suck in cool air from the outside. Use long screws to attach the fans and radiator to the case, ensuring all the holes are aligned and fully installing one screw with the radiator properly placed before moving on to the rest of the screws.
If you wish to place the radiator at the back of the case, then situate the radiator between the fans and the case and ensure the fans are pushing hot air away from the radiator and out of the case. If your cooler’s fans are not preinstalled, you can install them in the exhaust configuration on the radiator first with the long screws, and then use the short screws to attach the radiator to the case.
Step 8: Connect all the cables
For the final step, all you need to do is connect the remaining cables. One fan connector should go into the motherboard’s CPU_FAN header and you should use a splitter for multiple fans if possible, or extra fan connectors can also go to the SYS_FAN headers if necessary. After that, ensure that any RGB cables are properly connected to the corresponding motherboard headers and that the SATA power cables are connected to the PSU.

Please note that the pump may make some noise when you first use the cooler. This is normal and should go away after a few minutes.
There you have it! That’s how you install a liquid cooler when building your own PC. For a look at some of Cooler Master’s own liquid coolers, please visit our website.